Showing posts with label C- ASHLYN'S ALPHABET. Show all posts

Saturday, February 2, 2013

A PUMPKIN SPICE BLOG CHALLENGE: a valentine's day banner

FOR THE WHIMSICAL DESIGNS HOP, PLEASE-PLEASE: CLICK HERE

-----

hello hoppers
welcome to our february pumpkin spice blog hop
this hop will coincide with the february challenge too and the theme is hearts.
we are so happy you came to join us.

this is my project for today and i also will be entering it for the challenge.

A Valentine Banner
)clicking on the pics will give you a bigger image)
i used my cricut expression for most of the images.
each pennant base measures approx. 7in. high. and a quarter of an inch less on each layer.

the cupid was cut using a sizzix die.


Supplies Used:
cricut cartridges: ashley's alphabet, b is for boys, cake basics, pretty pennants, sweethearts 
kraft cardstock: bazzill
white paper: carta bella
pink striped patterned paper: mme
all other papers: authentique "lovely" (exceptions below)
translucent vellum: paperbilities
solid red cardstock: the paper cut
lace: craft store
adhesive and foam dots: american crafts

this banner is a darling!
a lot of work but well worthy. 
any questions/help, please contact me! 
right now you are at 
and you will be at our dear and so talented teammate Court.  

thanks for joining us and do not forget to
Have fun!

-----

for the beginning of the hop and to get any info please go back to  the

--------------------

Okay ladies! :) Time for our second hop :) LOVE hoppin' with you!

Challenge: Hearts!


Saturday, September 8, 2012

HALLOWEEN TREAT POCKETS...using k&co embellishments

 i am so happy i was able to share my "publication" news with you all and see you were all so happy for me too. thanks again! 

today, i will share a few treat pockets/pouches i made that you can use not just for halloween but for any occasion you need to give some goodies away. they are so simple and i am sure you have seen them around a lot. you just have to add your personal touch to them and voila!, they are good to go. 

Halloween Treat Bags
4.5" inches tall by 3" wide

hehe, i love the rat. he is from a sizzix die cute die.

all i needed was a piece cardstock cut at 7" tall by 3.25" inches wide which i folded at 2.5" to make my pouch/pocket. i cut a few other pieces of patterned paper to embellish along with some bats from a martha stewart paper punch and the 3D embellishments from k&co. so easy! and the beauty of it you can make them any size you like. you can even use fabric for the pouches if you want.

i know some of you might know to make this but others do not. i sometimes get from granted we all know how to make some things and boy, i am so wrong!
anyway, i put these up on my etsy shop, yes, yes! the one  i have been trying to get up and running again with not much success of my part (darn pain stops me from it too). anyway, i wanted to share this easy project with you all since we have some holidays coming up soon.

take care you all!


Friday, January 13, 2012

MY PINK STAMPER PINK-A-LICIOUS BLOG HOP

it is a new year!!! and this is our first 
Pink-a-Licious
blog hop.

WELCOME ALL
i hope you find it refreshing and enjoyable.

this will be my last project for the My Pink Stamper Design Team, 
since i have resigned due to personal matters.
I want to thank Robyn publicly for given me the opportunity to be in her design  team for almost 3 years. i am immensely grateful and to maria--our team leader---who has been up and down and all around with all of us...
thank you, thank you and thank you. 

it also have been a pleasure to work with some awesome designers and learn so much from their personal styles.

my project for today is a "Thank You" card for all of you too whom have been with me for a while and for you who has come from my pink stamper blog and have become my followers.
love you all!

5" x 7"
thank you card
this "thank you" is from the first stamp set robyn (mps-my pink stamper) started from. i was then a newbie on the blog world and making cards. this is my team---my pink stamper team---the first design team i ever worked with and i am so happy for it. i wanted to use the same stamp set to finalize my days with the team. this set is called
"sweet occasions".
i used a white pigment ink to stamp with and the pretty patterned paper is from dcwv--travel stack.

the butterflies are in the ashley's alphabet cricut cartridge. the rounded scallop is a fiskars paper punch and the heart is from the same "sweet occasions set".


all cardstock has been inked and the scalloped paper pierced. some stickles were used for the bling-- :-)

and here you can see the whole card.
hope you are having a great hop and please, remember robyn always has awesome giveaways for a lucky participant. click ------HERE,  to go to her blog and learn about the challenge.

i will be back as time permits. some health issues are keeping me somehow resting...hehe

also, here is the line up in case you need it:
me
 thanks again! 
oh, i have a small giveaway and i will choose a visitor/winner this coming week---what about wednesday the 18th!
you must claim your prize within three days of announcing it.
*_*

Tuesday, September 20, 2011

MY PINK STAMPER DESIGN TEAM MONTHLY PROJECT


i told you i would be back today. i have been cleaning the house and working some on the yard before it gets too bad. the weather is supposed to be rainy for the whole week and i won't be able to go out. the house can wait a day or two. it is always so much to do :( 
-----
i love being one of robyn's designers and get to play with her stamps and i wish i had more time to work with them. i thought when my son left i was going to have that extra time but sadly, that hasn't been the case. i did have time to make some stops on some blogs and that is a YAY! it shows some progress, lol.

I did have so much fun working on my project for today. we were asked to use the Spook-a-licious stamp set and you know that is one of my favorites right now. 

 Have the Scariest Halloween Ever
4.75" x 5.75"
i named him mr.noir!
the most beautiful cat's face ever, is in the autumn celebrations cartridge.

and here is the beautiful sentiment from the spook-a-licious set from my pink stamper, and the spiders are from the same set. i love those spiders, they are awesome looking! 

for the sentiment, i bent the stamp a bit on my acrylic block until i had it the way i wanted it.
(psss!....you can click on the pics for a bigger view)

 look at those teeth...GRRRRR!

the card base is from ashlyn's alphabet and is image #40 on the overlay. i cut it twice on double sided pattern paper.

did you noticed i inked the teeth a bit, for a more realistic look. 
the rhinestones are giving him purple eyes. 
awesome purple eyes, that is! a bit of stickles here and there and done.

 when you go to my pink stamper site, you will see you need to use black, green, purple and orange in your project. you will find these colors in the designers projects as well.

now, you can click on anywhere i wrote my pink stamper, spook-a-licious or you can click HERE to go to my pink stamper site and see what the rest of her fab team has to share and to participate in this other awesome challenge. 


can't wait to see what you come up with!

now, go ahead and have some fun!


Sunday, August 7, 2011

YOU'RE ONE OF A KIND

 You're One of a Kind
5.5" x 4"
i have a butterfly bush i purchased 2-3 years ago from a home improvement center. it was on the clearance table for 50 cents. the poor thing looked very, very bad. i said to myself i had nothing to loose and saw it as a challenge to try to bring it back to life. well, it did that and more and it really does attracts many butterflies. this butterfly bush brings so much happiness to my life. i get to enjoy all kind of butterflies and each one is
"One of a Kind!
I knew Robyn aka My Pink Stamper had come out with a set of clear stamps that was the perfect one for my card. I found it one of the May 2011 releases and it is called:

i used the cricut lite Live Simply for the butterfly. it is image#16 on the keypad overlay and i used all the layers. The size of the butterfly is 3" high.


the tag for the sentiment is from Ashlyn's Alphabet, image#29 on the overlay and measures 2.6"by 1".

i have been working with these box of patterned papers i have in my stash and i do not remember the manufacturer. But, they are really good looking papers. I will dare to say they are from K&CO.

to the inside of the card i just added a strip of paper i had leftover from the front of the card. i might add to it.

well, thanks for stopping by and know soon i will be able to visit your blogs. 
Love you all!


Thursday, July 21, 2011

CHRISTMAS IN JULY DAY THREE

this is my wall art project for the home decor part of the 
CHRISTMAS IN JULY EVENT

(i am aware of the photos not showing up yesterday at the hostess blog
thanks for letting me know. i contacted gisella and she will take care of it asap).

this project is not an original idea of mine but similar
to something i saw on the web and twisted it a bit to make it my own.
--here we go--

........Wishing You........
Happy Holidays
......................................................

size: 7" x 8.5"

pretty, huh?

i used my cricut for all the cuts since my paper trimmer tends to disappoint me--- :(

(remember to click on the pics for zooming in)

i chose a green pattern paper for the background and glued to the base of a thick chipboard.

the first yellow strip is 7" x 1.5".
the holly paper is 7" x 7.75"

the mat for the title was cut at 3.8" x 1.3" using ashlyn's alphabet for this shape. it is image#27 using the icon creative feature.

all the rectangles strips are 3" x .75".
the green strip to the right measures 2" x 7" with its mat.

 the holly border and red snowflake are from K&CO and so are the rest of the chipboard embellishments, except the star brad.

this cute pocket holding the candy canes is from tags, bags, boxes and more
(image# 48)

a few more pics of the overall project below.


Supplies:

Cricut Cartridges
---Ashlyn's Alphabet: rectangle strips; title mats
---Tags, Bags, Boxes & More: pocket for the candy canes

Cloud 9 Designs for the patterned papers:
Seasonal Collection
K&Co:
holiday embellishments

American Crafts:
foam adhesive

Sentiments:
various clear stamps from different manufacturers

Clear Embossing:
Ultra Thick from Jo'Ann Craft Essentials
Additional supplies:
from my craftroom

 ENJOY!

i will be back on Saturday with another project for the
Christmas in July Event.
in the meantime they are lots of projects to delight yourself at

********************

Tuesday, June 21, 2011

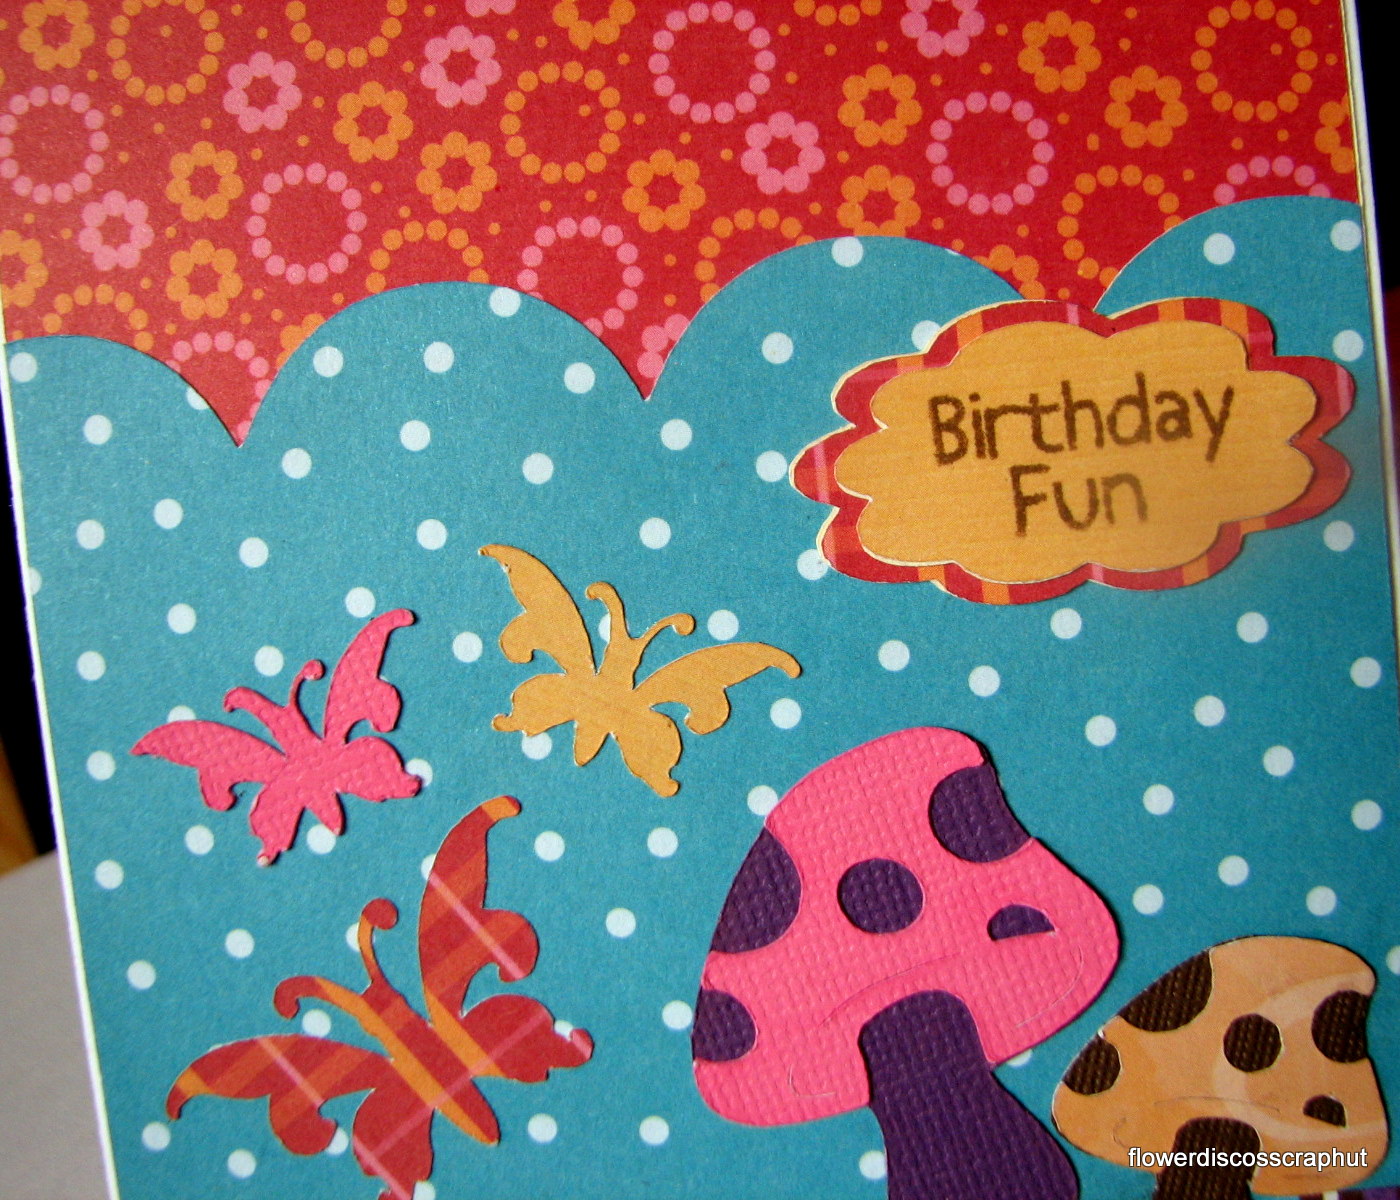
BIRTHDAY FUN MPSDT JUNE PROJECT/END OF TERM

as you all might know, this is my last project as a member of the awesome  
design team.
the term was for six months and we have come to an end. some girls will stay and some will go. anyway, you look at it, it was my honor and pleasure to design for Robyn alone with her so very creative team.
thanks ROBYN for all you do!

Robyn's instructions for this last project were:
"Just make sure it is BRIGHT and fun!!!"
Birthday Fun
is the name of my card using the
my first "mps stamps set"as her designer on my first term.

 now, onto my card.
using an old stack from DCWV i made this beautiful card. while looking at those papers i really did not like them but went for them anyhow. the only one i really liked was the blue dotted one :P

the card size is a 4 x 5 inch tall. i used cindy loo for the mushrooms, ashlynn's alphabet for the gorgeous butterflies and accent essentials for the sentiment mat. the later was manipulated on the gypsy to the shape you see now to fit the sentiment size. i used for image #31 using shift.
below are a couple more pics.
 remember you can always click on the pics, for zooming in.
bright and fun just like robyn wanted it to be.

hope you liked it and give you some inspiration.

 ***************
a bit of DAILY LIFE:
 
---husband ended up on insulin :( still has to see the specialist.
---son's graduation was a blast!!!
---visit to boston university for 4 days was excellent!!!!

---lulu is very sick and needs your prayers: collapsed trachea, heart failure and pneumonia. we are devastated. we have no more tears. we are numbed with pain and heartache.
****************

love you all!
*-*


Wednesday, October 20, 2010

"PLAYING WITH SERENADE" by flowerdisco & friends


hello dear friends

a big welcome to my new followers
don't be shy and let me know how you like the projects :)

another Wednesday is rolling by and this is round #6 of Playing with Serenade.
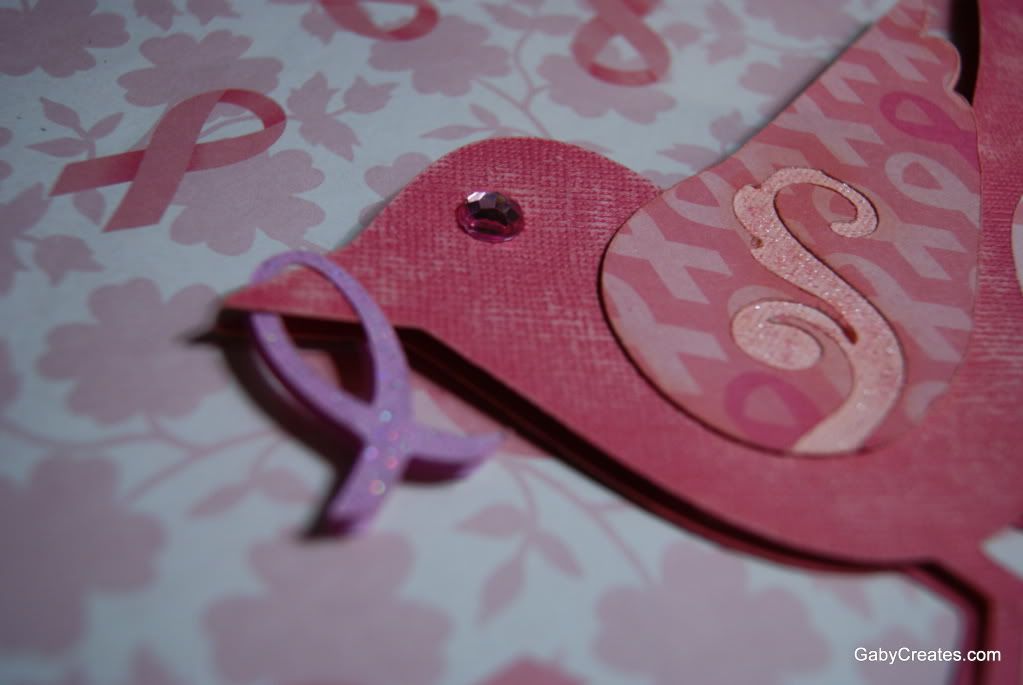
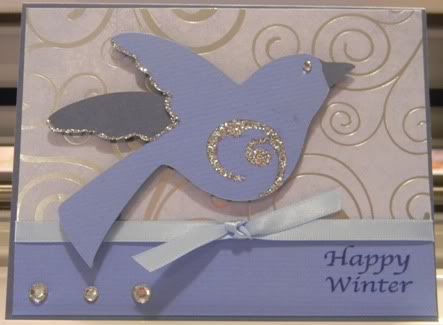
Today  I am showcasing image #37: a pretty bird.
(I think most of us have birds this week)
 this is my project for this round.


Fun  Fall
4.5" square card
I was going to glue the bird in the inside but I did not measure right and it was to big.

The bird is leaving for a while to Welcome Fall.
I know I should have put the bird on the left door. But he was already flipped and cut :(
The inside is embossed with the Cuttlebug using the Allegro embossing folder.
The small leaves were punched out.

The bow is from Ashlyn's Alphabet and you find it on page 56.
The front door was made just cutting (I did this part manually) half a circle and a slit in the middle, leaving space to score half an inch on the sides.

 this is the inside.

The idea of the door opening like it I took it from the magazine below :)

 *****

My friends projects Playing with Serenade are below.
You can click on their links to go to their sites and see more details on their projects.

Abby
http://scrapbookaholic.blogspot.com/
  

*****
Gaby
http://scrapabookaholic.blogspot.com/


*****
Helen 


*****
Jessica
http://luvcraftingwithcricut.blogspot.com/


*****
Melissa


*****
I hope you enjoy this round as much as the previous ones.
My friends projects just get better and better. Don't they?

anyhow, next Wednesday will be our finale.

Thanks for stopping by and again...

Love you all!