Showing posts with label FAUX STITCHING. Show all posts

Friday, December 11, 2015

I AM THANKFUL

so glad you are here. today's card is a super pretty one.
made with a variety of colorful inks and the thank you for everything stamp set from joy clair.


I AM THANKFUL
look at the color blocks and the awesome handwriting style font i like so much.
super cute!

the color blocks were done using a variety of inks: pigments and dyes and a background stamp from many years ago. wink-wink. 

i also used some thin dies for the faux stitching around the edges of the white and black cardstock just for a bit of accent to the frame.

a bit of rustic twine just because...and some pearls to cover a tiny boo-boo on the yellow line, lol.
i would have used the so popular sequins but i haven't purchased any yet. i keep forgetting.

i even did the inside. and after i thought it would have looked so pretty on the cover too.
the "for all you do" is also from the same stamp set: thank you for everything.

sooo, what do you think. between the handwritten style font and the colorful patches of rainbow...i do not know what i like more, hehe.

these are the stamp used along with its matching digital die.
Thank you card clear stamps  Thank You For Everything Digital Die
they have been linked for your convenience.

remember joy clair is having a dt call. 
check it out and good luck!

take care, have a great week and see you soon and as always...
thanks for your visit.

Friday, September 4, 2015

A BACK TO SCHOOL OWL CARD TAG

hello all,

this is the owl i had in my picture collage in the "previous post" that i couldn't use on my last project. remember i used
the cricut explore PNC (print and cut) feature and an svg's from the digi playground.

Back to School Card Tag
4.25"
i will try my best to explain the "how to" since i had some emails asking about the process.


step #1
-insert your images to the cricut design space-

step #2
-hide the back to school background by closing the eyes on the layer section to the right-

Step #3
-add two circles, change colors if desired, position them to the back of images (owl and back to school) , click "attach all" located at the top of virtual mat or by right clicking your mouse or touchpad, then click on "flatten" (see top right of pic) and
you will see the printer icon next to the layers sections instead the scissors for cut.

step#4
-click go and you will see the markings on your virtual cutting mat indicating it's ready to print-
***make sure you do not exceed the printing area. if you do exceed the printing area, go back and resize to a smaller size, hit go and print. after printing you are ready to cut in the explore.
if you have any questions, please contact me and i will try my best to help you.

here are some more pics of the card/tag:
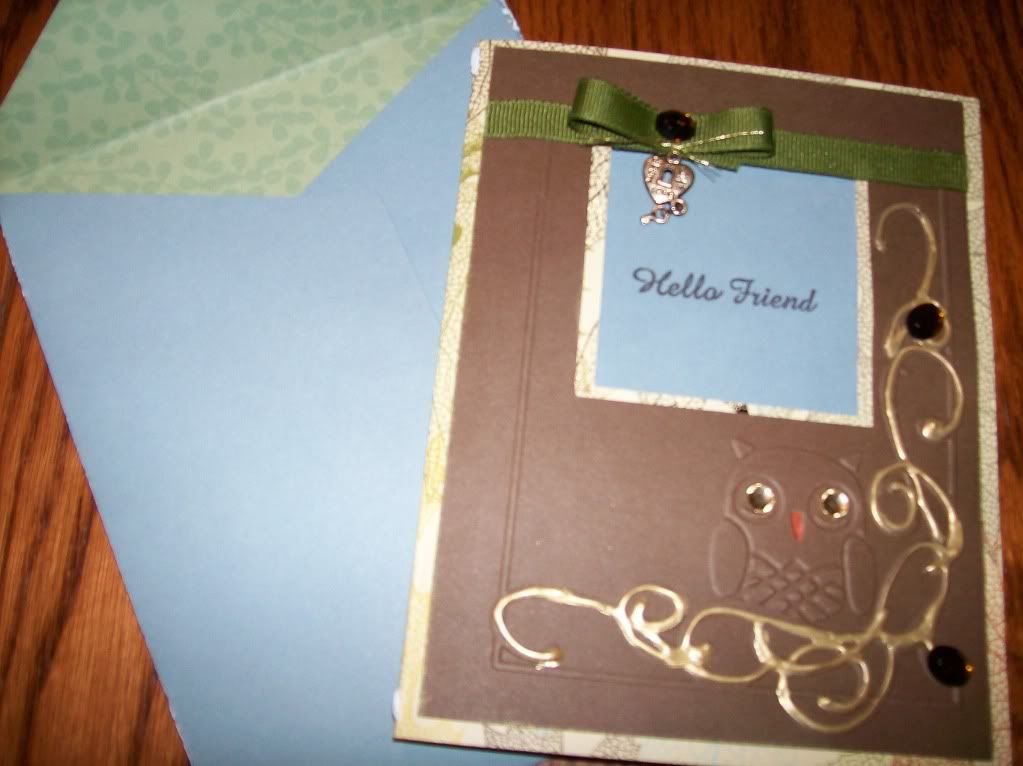
-all the faux stitching was done with a white gel pen-


-the embellishment was made using a paper punch and a g studio clear stamp-

-the inside-

-cute little owl-
you also can cut the owl's layers individually or just some parts of it to add dimension and texture.

hope you enjoy my post for today.

see you next time,

blogged 
by
flowerdisco


Friday, January 21, 2011

WELL WISHES


hello

me me, the winner of the blog hop contacted me and soon i will be making a little surprise goodie box for her. i am very happy she did get my email and claimed her prize.
congrats to me me--!!

i made these two cute tags using another set of clear stamps from my pink stamper.
Well Wishes
 the tags are from a child's year image #11 using shift and the tag feature.
 the flowers are from accent essentials image #46 using the shift key. the leaves are also from the same cart: shift and images # 41 and 42.
i misted the flowers with water, i crunched them, dried them with the heat gun, inked them and glued the layers on top of each other. they were different sizes, varying a few eights of an inch. the leaves were also misted, crunched and inked. really easy to make. the sentiment i used is from the set below in case you want to check it out.
HAPPIEST MOMENTS

thanks for stopping by
 and a big hug to all.
*_*


Thursday, January 7, 2010

WILD CARD WITH LISA/STITCHED

Hello, today is Thursday and even I am having a blast cleaning and re-organizing my scraproom (yeah, right?) it's time to showcase the Stitched card from the Wild Card cartridge.

My Stitched Card
4 inches

Lisa's Stitched Card 

Thanks for stopping by!