Hello dear friends, followers and visitors.
I am Agnes aka flowerdisco

from
It is my turn again here at Pam's
I am one of her zillion designers, lol.
BUT, the more the merrier, right?
and I want to show you how I made my
Milk Carton
as best as I can explain but... I can't explain it :( LMBO
and I am sending you to
where you will find the instructions and pictures for the Milk carton and much more.
If you are not familiar with the site you will be glad I sent you there. :)
I also made a robot of course, because ROBOTZ is the cart of the month at Pammy's.
I will still show a collage of some of the steps it took me to make it and I know after you see it you won't be mad at me, and you will be happy I did not try to explain all these measurements, lol.
This is the finished project in case you do not want to bother with the instructions.
My Milk Carton and the Robot


This is the robot from page 68 cut at
2.30 inch wide x 2.75 inch high. I had to play with my Gypsy to get him skinnier to fit in this 2.5 x 3" rectangle panel.

This is another panel where I used one of my G-Studio clear stamps and added a ribbon this ribbon has embroidered on some little spiders. The Trick or Treat tag is from a K&CO Halloween die cuts pack and I attached it with an eyelet and some silvery twine.

I want to point out that I cut every single rectangle with my Fiskars trimmer and each rectangle was inked, and faux stitched. The orange paper was also stamped with with another set of G-Studios (stars) clear stamps and the white lines from the spider web in the background were glittered with a glitter pen.

(I apologize for this blurry photo)
The "gone Haunting" sign is also from the same K&CO Halloween die cuts. I went over all the candy corn and used the glitter pen on them. I also outlined the words and the frame with the same pen. I love that pen, can you tell? lol.
Now, I will show you the collage I was talking about in the beginning, where I show some of the steps I followed in the manufacturing of this beauty.

(remember you can click on the photos for a bigger view)

The robot was popped up and so was the crown, I also used stickles on the feet, elbows and crown. Some googly eyes were added to the face.
Isn't he cute?
Nah!
He is adorable!

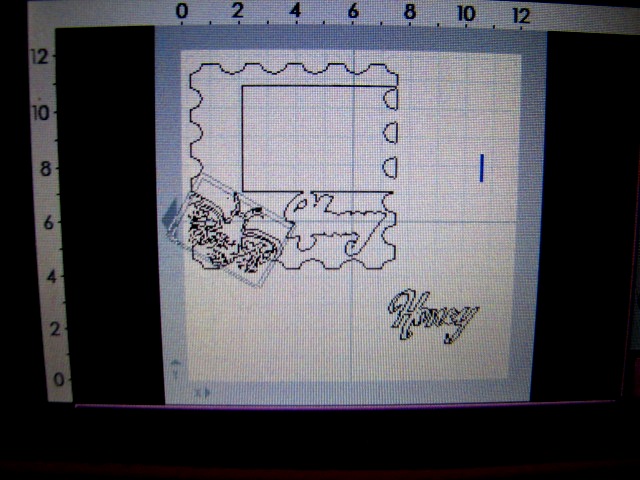
Here is my Gypsy where I tweaked my robot and welded the crown to the shadows.
I hope you enjoy this project as much as I did making it.
It is beautiful-beautiful-beautiful in real life.
You have to try this project some time.
It is beautiful-beautiful-beautiful in real life.
You have to try this project some time.
I will put some goodies inside and give it to my son for Halloween.
The paper used was a gift from my friend Valerie from http://www.craftygolucky.blogspot.com/. She sent me a K&CO Halloween stack called "Halloween" from Tim Coffey.
Please, if you have any questions, DO NOT HESITATE, to contact me. You will find me at http://flowerdiscosscraphut.blogspot.com/
Thanks to Pam again for giving the opportunity to showcase my work in her blog. It is my pleasure and honor to be a Gyptian designer.
Love you all!