Showing posts with label GIFT IDEAS. Show all posts

Wednesday, April 27, 2016

ZENTANGLE COLORING

A fun coloring method for adults and is indeed relaxing. 

I wanted to use some of the recycle brown bag envelopes from Cut Cardstock for a Mother's Day gift and I had in mind using some flower stamps to decorate them but then I saw this 
phone decal image from the Cricut access library and decided to use it instead. It is image #M4FCE3A and it was free of charge at the time I used it.

First, I arranged the images on Cricut Design Space and changed the cut setting to write. The third photo shows the phone decal image prior to coloring with some colored pencils I found in my supplies.
I made a set of three envelopes with its matching insert.

It took some time for coloring but that was the relaxing part of the zentangle coloring, as I chose to call it.
The phone decal image was duplicated and welded to make a larger border to fit the envelope size: 5-1/4 x7-1/4".

These flowers are part of the main design and I used them to decorate the inserts.

I hope you enjoy today's post and remember, sometimes we need to think out of the box.
-Phone decal equals in this case, a Zentangle image...ready for coloring-


Thanks so much for stopping by!

Cut Cardstock Supplies:
Brown Bag Kraft A7 Bag flap envelopesBlank Brown Bag A6 folded cards


Blogged by flowerdisco
(copyrighted)

Monday, September 23, 2013

YOU EQUAL AWESOME...made with a brown paper bag

happy fall to you all
the weather in my area has been beautiful, cool and crispy. i hope you are enjoying it too.

today's post for artful delight was inspired by a pin from pinterest. i will show it at the end of the post.


You = Awesome
Me = Grateful
using a small brown paper bag 
(all supplies minus the paper bag are founded in the artful delight september card kit)
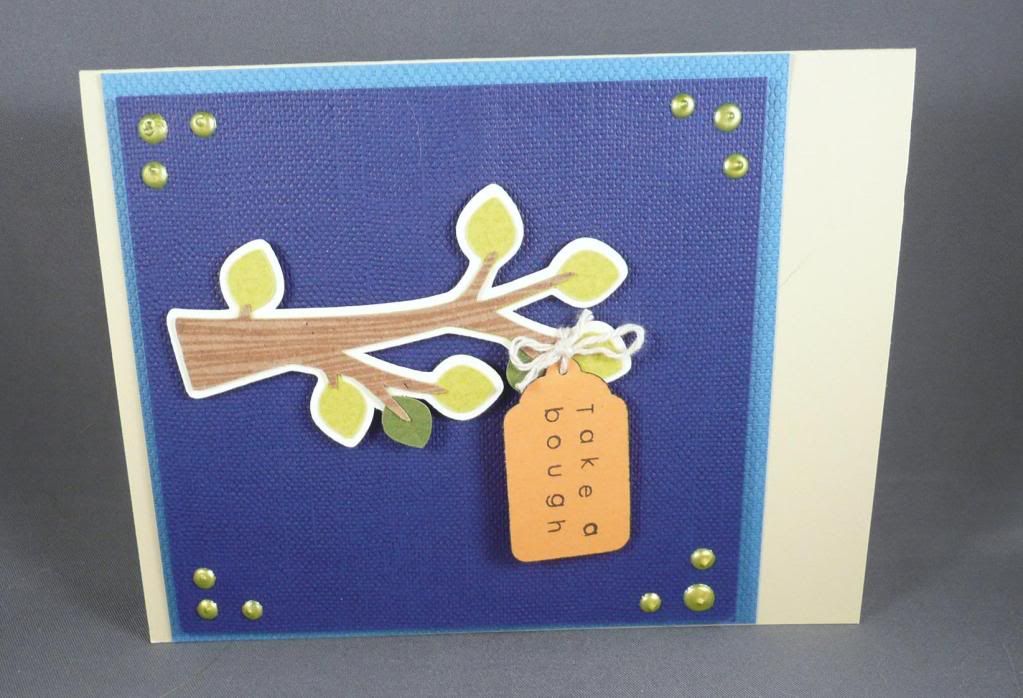
 
folding the bag in certain way to have a pocket where you can insert a note, money, tickets or whatever you would like. i stitched the two patterned papers with my sewing machine onto the bag, hard to see because of the edges being distressed.

i cut strips of the brown panel paper into strips to add some of the sentiments from the paper smooches stamp set called many thanks ALSO included in the september card kit, and tuck them inside the pouch. i made the semi circle on the patterned paper with a circle punch to match the one already in the paper bag. i added it the rounded fleur d lis paper clip just because to me it was the perfect spot :D.
i wrapped it all in jute and also added one of the small arrow chipboard on the center of the bow.

more arrow chipboards where added pointing to the chipboard cloud where i stamped another sentiment from the paper smooches stamp set.
this project has many uses....just use your imagination, :D

if you would like to join us in this month's challenge, please click here. you will also find more projects there made with our september kits (scrapbooking and/or card).

hope you enjoy it.
here is my inspiration from that pin

have a great week!


Monday, July 22, 2013

SWEET...gift wrap topper

or an embellishment or a card face.
whatever you want to use it for this little project turned out super cute.

Sweet
3.25" x 5.25"
---all supplies except sewing thread and adhesive are from my
artful delight july card kit---
(the shape comes from a cricut cartridge called fancy frames)

i did a few stitches with my sewing machine. some inking.

used a few enamel dots and a chipboard button, the white mesh and white trim. 

and this is the final project in it entirety.
and now you can see it why i said it can be used in different ways.

well, this is my share of the day.

hope you are off to a great week and better weather than we had this past week. it was very, very hot in my part of the world.

and thank you for stopping by...i appreciate your visits and sweet comments.
they do touch my heart and keep me going even in the worse of days.

NOTE: i am not asking anymore to click and share, hehe..i will share it myself, lol.


Sunday, January 1, 2012

DL ART BLOG-A-VERSARY BLOG HOP

hello my crafter friends and visitors.

I want to welcome you to my blog and wish you a year full of health and good fortune.
My name is agnes aka flowerdisco. 
i love making cards, home decor art and mini albums among other hobbies.

today we are celebrating the New Year with  a blog-a-versary blog hop for my dear friend Diana from 

if you happen to be around, join in the fun and a chance to win some goodies along the way---;p
today diana's blog is a year old.

including me, there are fourteen (14) stops you will be making. On these stops, you will find four (4) people with a word. those words will give you the clues for the ingredients you need to complete your project.
Each designer will have a project that will inspire you and also have some "clues" as to what the ingredients are.
You will have until January 6th, 2012 at 11:59 PM to link your project at Diana's. Once you have linked your project, you will have the chance to win the provo craft cricut cartridge "sweet tooth box cartridge" at Diana's blogspot.

now...
my project for today,
and it does have the needed ingredients--except one that i forgot...ooops! (sorry diane) 
--- among some other techniques.
CAUTION: photo heavy :D

Memoirs Box
2 x 2 square
(altered paper mache box)
this little box has all the designers names from this "Diana's blog-a-versary".
(by the way, you will find the line-up at the end of this post).
this "memoir box", as i decided to call it---- it is a variation of some i have seen on the web.

this is the box lid embellished with chipboards, bling and ribbon.

these are the corners. i used a sizzix die and some copper fabric paint for the details. the pink strip is a piece of ribbon layered with patterned paper using modge podge as a sealer.


the above photos show how the box opens, revealing an "accordion like stripe" with the names of the designers participating in this hop.
you can also see all the distressing techniques plus some other elements.

the photos below will show you each square.


i used paper punches, rub-ons, distressed alphabet stamps, glitter--- to embellish each square. the first square---the one with diana's name, is attached to the bottom of the box with a very strong adhesive.
well, i sure hope you enjoy my project....it is my gift to diana's.

and.......PLEASE, if you indeed liked my project, leave me a comment because......
  is sponsoring my blog today and, you will have a chance to win one of her super "high on demand" stamp sets. ------Thank you Robyn, thanks so much for donating this awesome prize for one of my followers/visitors today. -------the only requirement to participate in this giveaway is to make the project Diana is asking and link it to her blog. i will then check Diana's blog on January 7th and choose the winner. REMEMBER, you also have to leave me a comment with your info :P---

thanks so much for taking the time to stop here!

here is the line up...the blogs you need to visit today:


Enjoy the hop!

Saturday, March 5, 2011

TRAVEL MINI CARDS SET

hello to all

i have to tell you guys why i am not around much anymore. since i added the gym to my almost daily routines (and that along takes a lot out of me) i am finding less time to blog. i am fine but i want you all to know it will be like this for a while. sometimes more blogging sometimes less. 
i also have been getting the house in order for spring, doing lots of laundry, taking care of personal things and doctors appointments. 
talking about doctors appointments---my son will be having his wisdom teeth removed sometime in summer. the surgeon was a young doctor and he was very pleasant. it is always nice feeling comfortable with the doctor. it means a lot.
i am also working on a mini album (mostly on-cricut) and i haven't make a mini in a while :(. i want to put it up for sale on etsy and trying to keep my shop going. the extra tiny income will be very well needed when my son starts college since i guess i will be money-less then, lol. so...i said to myself--agnes, better start trying to get some extra cash and the only way you can do it is trying to sell your handmade stuff --. hehe
let's see how it goes. wish me luck. etsy is getting like ebay---very busy and your listing gets buried among other listings very-very fast. i am trying to stay afloat there.

anyway, 
this is something i listed on my shop a few days ago. i made it mostly with kraft cardstock which seems i am in love with for a while now ;p

Travel Mini Card Set
bag 5 inch tall

i love how it came out. this envelope is from just because cards and i added that ticket shaped on the side and it looks so cute. that was done out of necessity to make sure the envelope wouldn't open later on and if it did it was going to be secured.
the paper used is from "me and my big ideas".

below is a collage of pics from the set.
 all vintage looking like me but i hope you still like it--hehe
hey, an inspiration is an inspiration, right?
wink-wink

love you all!
*-*


Tuesday, March 1, 2011

HAT PINS GALORE WITH THE CUTTLEBUG SPOT WEEKLY CHALLENGE

 hello my friends,
between the gym and household chores is a miracle i still alive, lol
 today is a sunny day here in my neighborhood and that should recharge my batteries for a bit.

i am also taking my son to an oral surgeon for a consultation/scheduling on his wisdom wisdom teeth surgery. the bottom ones are sideways and of course they need to be removed. i never had my wisdom teeth so maybe that is why i still a goof--hehe

Ouch! :  Hat pins
this is my take,
Always Laugh
4.25h by 5.5w 
this flower is huge...flowerdisco went crazy this time--hehe

thanks to the spender in me, i bought these hat pins at J's because they were on clearance and i said to myself we never know when we are going to need them, ;p. 
here is a pic of them:
they have different sentiments and i love the font and material used for them, don't you?

anyhow, i looked in my ribbon box and i saw this kind of wide cheap lace :( and i decided to make a flower.
it came out huge, lol, but nonetheless i was decided to use it on my card--go figure.

the fabric button is another clearance find from k&co.

and the paper lace we all know it from the martha stewart collection of punches. i also used it in the inside.

sorry about the "glub" of glue on the white square piece of cardstock. i did not realize it until now. i will take care of it with my x-acto knife later on.

you can see the flower wasn't really attached to the card--wink!!!!
my son still thinks i am a goof, especially when i come to him with these atrocious ideas, lol.
the little white square is very useful as you will see below.

you can see the embossed patterned paper, right? i had to have my embossing in. after all is for the cuttlebug spot :)
 aha!!!!!!!! yeah, you are seeing right ;p. i put another hair pin (a real one) on the back of the ribbon that was glued to the lace flower that was pinned to the white little square--hehe.

now, you can remove the flower and use it as a real hat pin, hair pin, brooch, put it anywhere you want 
....voila!!!!!
that was my genius and or atrocious idea for today. lmbo

so what do you think? hehe...flowerdisco just lost it!!!!!!!!!!

i bet you can do better with some kind of those glubbers  that are so popular right now. 
but you get the idea here first,.
right? right.

play along with us at 
and also enjoy yourself looking at what my team mates have prepare for this week of 
Ouch! Hat Pins
love you all!
*_*

Wednesday, October 6, 2010

"PLAYING WITH SERENADE" by flowerdisco & friends


Happy Wednesday and Happy Fall!

 We are already experiencing not cool but cold weather. The tropical storms have been pouring rain on this side since last week. Monday and Tuesday was Brrr! :)

Anyhow,

I am here to introduce another series of  
SERENADE ROUND 4 
We are already half way and I am thinking to have a small surprise for those who have been following the series and commenting on these gorgeous Serenade projects. shh! it is supposed to be a secret ;)

My image for this week is #23 and is a FLOWER...you already know flowerdisco loves flowers, hehehe, and I decided to make something different. I had already bought the one staple I needed to make it and well here it is...this is my first time making a...
Flower Hair Pin/Brooch
3 inches in diameter
 (Remember to CLICK on the image to have a bigger view)
This hair pin/brooch came out  
gorgeous!

This image has 4 cuts and forgive me if I do not have the proper names for them: a shadow, a base, the big one you see on the Gypsy screen and a small circle for the center of the flower.
 The bigger image you see on the Gypsy screen was cut in 5 different sizes:
3", 2.75", 2.5", 2.25" and 2" inches. I also cut the shadow image twice, to give the pin a sturdier base.
You see the scallops on the big image, right? To make my flower dimensional I cut one scallop off on the 3 inches one; then two scallops off on the 2.75 inch one; then three on the next size, then four and then five on the smallest one and glue them again with Scotch's Quick-dry adhesive to make the circle again for dimension...did I loose you? Clear as mud right? lol. It is the same techniques they are using to make the paper flowers.

 I inked everything and I used my glue gun to add the 5 layers. (I tried with the Scotch's glue but it wasn't working, :() BUT, the glue gun attached all the pieces very well and very secured.

 I bought a jar of Diamond Dust when I was in Boston and I finally got to use it here. I am learning this technique and even it seems like a lot of Diamond Dust still looks very nice. Next time I know to use a bit less, lol. All the Diamond Dust is very secured to the flower tough. I made sure of that. :)
 The leaves are from A Child's Year cartridge...
beautiful leaves and I never noticed they were there, wink-wink...
(that is because it gets to be too many cartridges in the collection, lol).

 
 This is the back and I attached that hair pin using my glue gun again.

Now,
I have a model to show off the flower as a hair pin: ME...lmbo!!!

Just FABULOUS!
I also tried putting it on my purse handle and it look nice there too and around my potted plants and in my kitchen and in the bathroom....and every where I put it it looked beautiful. Oh! I have a garland on my front door and just imagine a whole garland with these flowers on different sizes...it will be to die for :)

Well... I hope I have inspired you with my hair pin and remember these flowers in other colors will look different on every season decor. 

 
Now onto my friends projects.
Abby
 *****
  *****
Helen

*****

Jessica
  
*****
As always I have enjoyed every single project my friends make and I certainly
Hope you have enjoyed them too,
and come back 

next Wednesday.
  We will be showcasing round 5.


Hugs to all!

and Thanks for the love left.